I am sure most of you have heard of the concept of contouring and highlighting. Sure it may sound simple but when it comes down to actually doing it, it takes a lot more than just practice, which is why I attended my first MAC Pro Master Class, Sculpting The Face, by MAC senior makeup artist Victor Cembellin, to freshen up my skills and to pick up new tips.

Victor defines contouring as “using the principles of light and dark to create/enhance dimension”. Light colors will highlight features, make larger, emphasize and make more prominent, whereas dark colors will shade, create shadow, minimize, reduce/recede features and create the illusion of depth.
Areas To Contour
• Under the cheekbones
• Jaw line
• Sides of the nose
• Socket of the eye/crease
• Temples
• Lips
• Sides of the forehead
• Contours of the body
Areas To Highlight
• Bridge of nose
• Center of the forehead
• High cheekbones
• Under the eyes
• Eyelid/ Brow bone
• Chin
• Lips
• Back of the jaw
• Highlights on the body
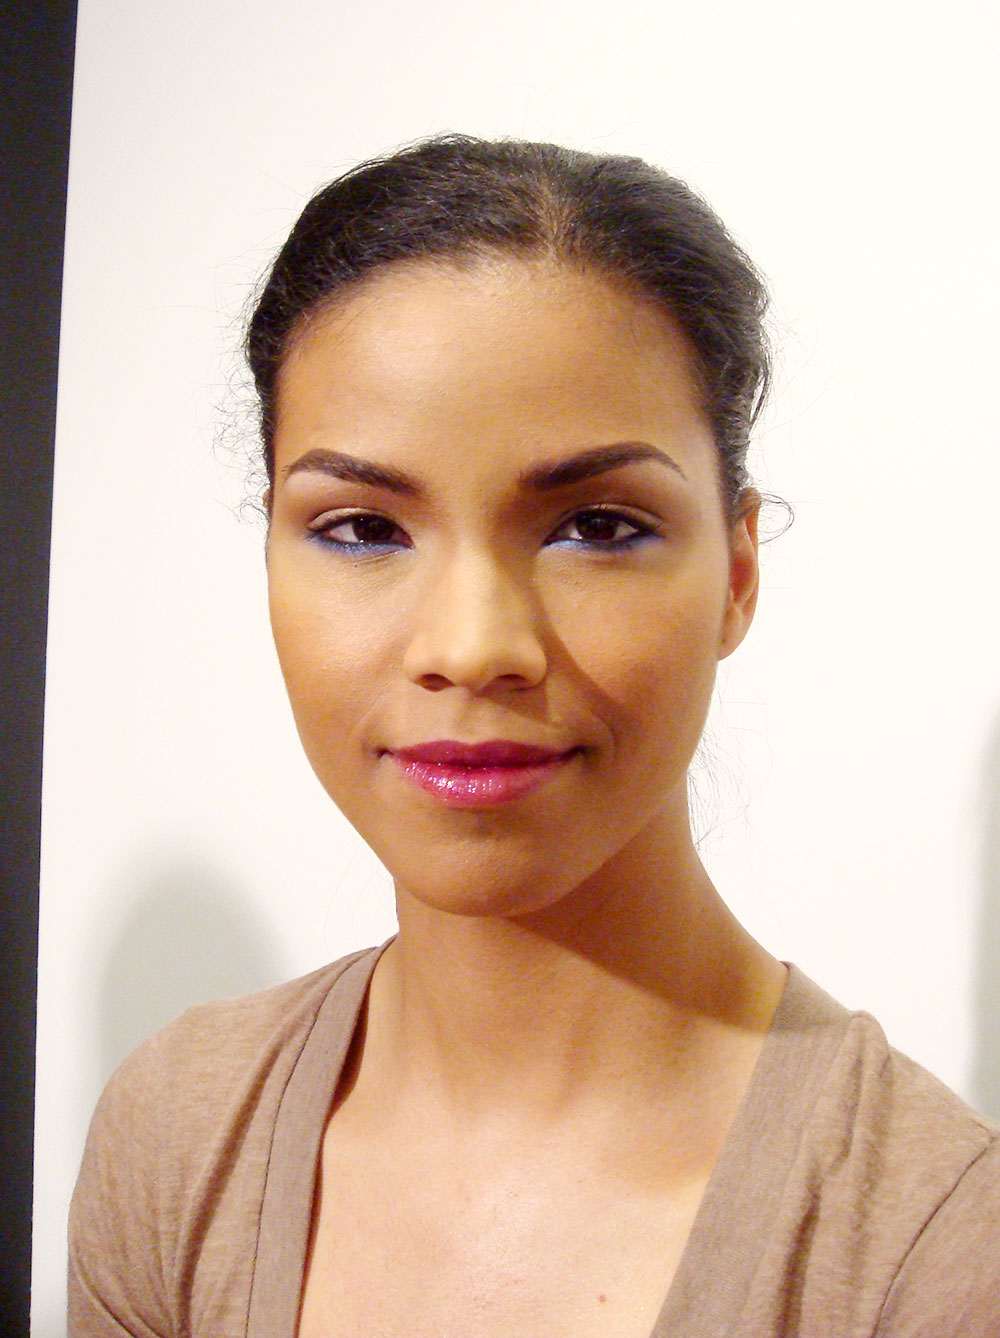
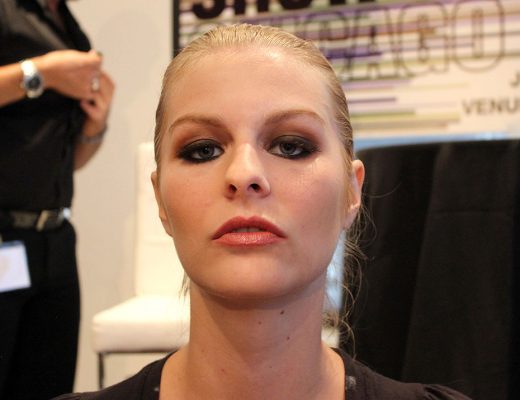
To show us how powder and liquid products work to contour and highlight, Victor and his partner Dana did two separate demonstrations using liquid vs powder products on our gorgeous models, Christina pictured above and Angela below.
A few key tips from Victor:
• “Have purpose behind every brush stroke.” This is very important because every face is different and the last thing you want to do is contour/highlight robotically (as Victor likes to call it), i.e. following the so-called rules of makeup and contouring/highlighting features you are “supposed to”, instead of actually looking at the person and contouring/highlighting accordingly.
• Examine your face thoroughly from every angle. Just because your makeup looks good from the front may not mean it would look good from the side. Make sure you check your makeup from different angles before you step out the door.
• Mix warm colors with cool colors. Victor loves using a peachy/pink-based concealer with a golden-based foundation.
• Since lighting can change everything, you need to figure out how you or your subject will be lit.
• To get an uber natural, no-makeup look, buff and buff some more. Both Victor and Dana love the #182 Buffer brush to apply skincare, primer and foundation.
• It normally takes 2 hours for makeup to sink in completely so you get that dewy look. Fix + is Victor’s “2 hours in a bottle” and he uses it generously to hydrate the skin, tone down cakiness, set the makeup and freshen the look.
• Concealer is not necessary *gasp* In fact, neither of the artists used any on the models to avoid a “painted” look. They suggest using a lighter foundation under the eyes and setting it with a banana-colored shade like Soft Focus Shaping Powder.
• Want to contour and highlight your cheekbones at the same time? Dip the longer hair of the #168 Large Angled Contour Brush on a highlighting color (try Emphasize Shaping Powder) and the shorter hair on a darker one like Bone Beige Sculpting Powder. Buff the darker color on the cheekbones followed by the lighter color just on top so they blend in together for perfectly sculpted cheekbones.
• To make a flatter nose pop, Victor suggests using a brown eyeshadow on the crease (he loves Soft Brown eyeshadow) and dragging it towards the inner corner right by the nose.
• Too much contouring can result in a theatrical look. Wear a blush to “normalize” the look.
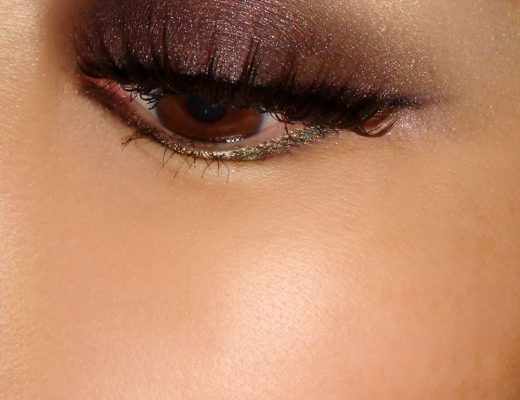
• Give your eyes a lift by applying a highlighting color right beneath the brow bone and through the hair.
6 Comments
Great post! I can def. use some help in this department.
Hi Phyllis! Are there general guidelines for certain facial types to follow? I’m Chinese and got a similar facial structure to you and I’ve noticed that the highlighting/contouring rules they use for faces of European ancestry don’t work for me.
Hello Phyllis! I totally agree with Emily. Our facial structure is a lot different….i would love to hear more of your creative ideas on this area!
I actually asked Victor about this after the class *lol* I’ll post more shortly =)
Can’t wait for the pictures!!
These are some great tips. I love the look on the first model. I can’t wait to try some of these tricks on myself!